Hello, crafty friends!
If you arrived here from the talented,
Jean Manis' Blog, then you are on the right track. If this is your first stop, then you will want to start at the beginning, the
Spellbinders Blog. We've got tons of inspiration and giveaways for you on the hop today, so keep reading till the end of this post for more information.
The dies for
Spellbinders Monthly Clubs are exclusive to Spellbinders and you won't find them anywhere else. If you want to find out more about the Club – prices, how you sign up and what’s included, please look ——–>
HERE. These dies are only available through the Club and are limited to the month of August, so hurry before they are sold out.
There are SIX dies included in the Telephone Set to help you create a wide variety of projects like: a Pop Up 3D Card, a Shaker Card, a Shaped Card, a Mini Scrapbook Album (upto 4 pages), a Gift Card Holder and more.
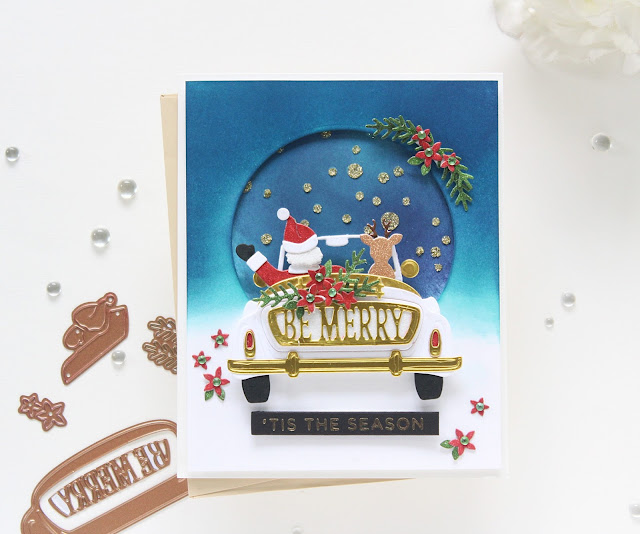
I have used this die set to create a 3D Vignette Card.
To start off, I die cut all the different shapes and panels needed to make my 3D card using
Buttercream Cardstock. I also cut some of the coordinating elements from
Gold Mirror Cardstock. Once I had everything die-cut, I assembled my Card following
THIS video by Becca Feeken. It's really simple and easy to follow!
I embellished my second receiver panel using the 'Joy' die-cut sentiment from the
Holiday Word Blocks Etched Dies, which was cut from
Gold Mirror Cardstock. I also adhered a mini snowflake embellishment at the top to accentuate it. The flower is die cut from the poinsettia die from the same die set, while the snowflake is from the
Snowflake Splendor Etched Dies. I inked the flower using dye ink and added a pink jewel to the centre to give it a more finished look.
For the dial, I again used
Buttercream Cardstock and
Gold Mirror Cardstock to die cut the pieces. Once I was done adhering down all the numbers in the rotary dial, I added a stamped sentiment piece to the centre, for which I used
Rich Coral Ink. I also added a few die cut flowers and leaves around the dial to accentuate it.
The flowers are die cut using the same poinsettia die that I used on my receiver panels, which is from the
Holiday Word Blocks Etched Dies. I inked all of them and embossed the petals using an Embossing Ball Tool. Then, I added flat back jewels in the centres for more interest. Lastly, I added a die-cut bow from the
Holly Frame Gala Etched Dies to complete my card.
Affiliate Disclosure
All products in today's post are linked throughout the post. These are my personal affiliate links which you can shop from at no cost to you! Thank you for your support!
Giveaway:
To celebrate this release, Spellbinder is giving away a $50 gift certificate to 3 lucky blog readers – selected from the comments on our blog. Hop along for additional chances to win. Giveaway closes on Sunday, August 30th, 11:59 pm EDT. The winner will be announced in the blog hop post the following Tuesday. The winner is responsible for shipping cost, duties and taxes.
Additional Giveaway:
The generous folks at Spellbinders have allowed me to giveaway a $25 gift certificate to ONE lucky winner! For your chance to win, leave a comment on this post by 30th August, 2020. Winner is responsible for shipping cost, duties and taxes.
Please note, store credit (gift certificate) cannot be applied to Club Subscriptions. Store credit can be applied to shop past Club products, Club extras and regular releases.
Blog Hop Order:
Just in case you lose your place along the way, here is the complete list of participants so that you can find your way back:
Wishing you a great day ahead!


