Showing posts with label Enamel Dots. Show all posts

Wednesday, March 28, 2018

Floral Cluster & Background Stamping | Card

Hello everyone,
I have a new card to share after a long time. I made this card using a couple of stamp sets from Altenew. I have also done pencil colouring on the florals. Here's a look at what I have made:

I started by stamping some solid floral images from the Golden Garden set by Altenew on Neenah Solar White 110lbs cardstock. I just picked up few random images and stamped them using Sea Glass ink.

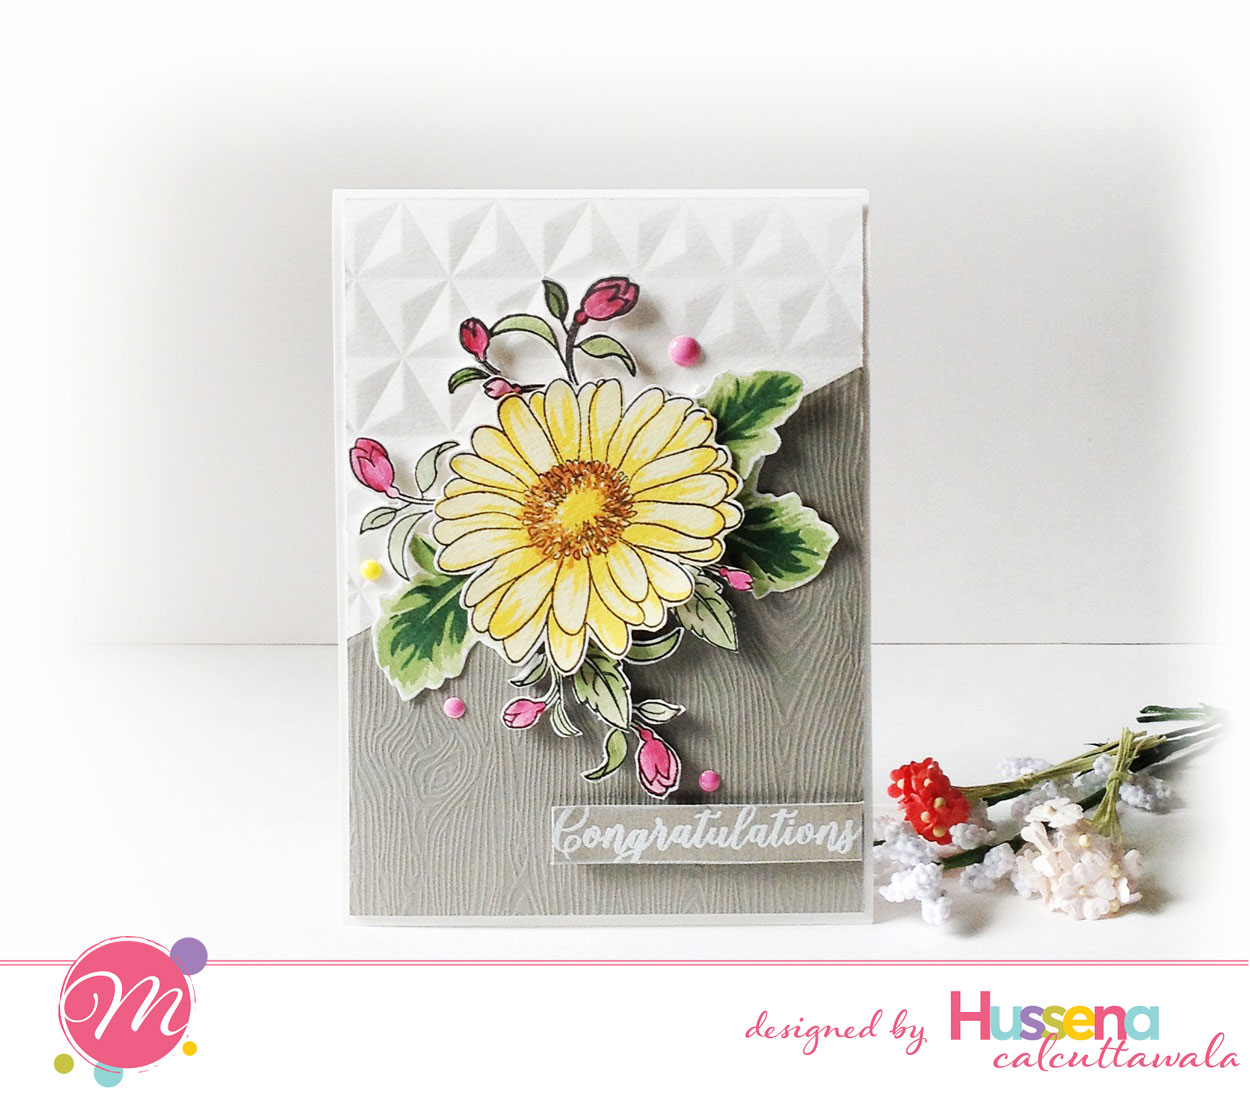
Next, I started working on the main focal of my card. I stamped the flowers from the Wild Hibiscus set on white cardstock using Versafine Onyx Black ink, coloured them using Prismacolor pencils, and then fussy cut them out.

The foliage is from the Golden Garden set by Altenew. I stamped the leaves and fillers on white cardstock, lightly coloured them, and then fussy cut them out and arranged it on my card panel.

The sentiment has been heat embossed in white on black cardstock, and is from the Amazing You set. I love the sentiment and think it is very encouraging.

The little rose on the bottom is from the Amazing You set again. I have tried to do some shading on it, though I definitely need to get better at colouring! I also added some black enamel dots to complete my card design.

I popped the flowers and some of the foliage on foam dots for dimension. Here's a closer shot:

I matted the card panel onto some pink cardstock, and then finally adhered it on an A2 white card base. Here's my finished card!

I created this card to play along with this month's Altenew Inspiration Challenge. The colours for this month's challenge are very soft and pretty, and I wanted to create something using them.


I hope you liked today's card. Let me know what you think of it! Thank you so much for stopping by :)

Monday, February 26, 2018

Altenew Build-A-Flower Blog Hop + Giveaway

Hello everyone!
I'm so happy and excited to be a part of today's Altenew Build-A-Flower Anniversary Blog Hop! You should have arrived here from the talented, Svitlana Shayevich's blog. If you're starting the hop from my blog, then no worries. I have the full blog hop list at the end of my post. 

I have two projects to share today, I made using the Altenew Build-A-Flower Peony Blossom set.


To create my card, I first stamped the solid image of the flowers from the Peony Blossom set on Neenah Solar White Classic Crest 110lbs cardstock using Lagoon ink. I then stamped the second layer of the flower, which was the detailed layer, using Volcano Lake ink and they were then die cut using the coordinating die.

I wanted to give the flowers a 3D look, so I embossed all the petals using an embossing ball tool. I layered two die cuts together to create one flower. The centres of the flowers were die cut out of white cardstock and then colored green using Bamboo ink.

The green leaves are also from the Peony Blossom set which were stamped on white cardstock using inks from the Tropical Forest collection. I also added some small fillers which were die cut from the Altenew Create A-Wreath die set out of silver glitter paper. I added some enamel dots on them to make them look like berries :) The small floral bunch on the right is from the Altenew Build-A-Flower Rose set and was stamped in black on white cardstock, die cut, and then colored using teal brush markers. 

The sending is a part of a sentiment stamp from the Altenew Adore You set, while the love die is from the Altenew Script Words die set. I die-cut the word thrice out of black cardstock, and layered one on top of the other, to give it a raised look.

I die cut the Cube Cover die to create the background for my card. I did some grey ink blending on the background using inks from the Rock collection. I matted the cube cover plate die cut over the grey background, and then finally matted that over some silver glitter paper to complete my card.


My next project is a small gift box. I wanted to create some Foamiran flowers using this die set and was really happy with the results. (In case you're wondering what Foamiran is, it's a very thin sheet of foam, generally 0.6 mm or 0.8 mm and comes in a wide variety of colors. They are extremely malleable and once heat set, retain their shape). I cut the Peony Blossom die out of White Foamiran sheets and inked them using Altenew Puffy Heart and Pinkalicious inks. I then heat embossed and curled the petals to give it the shape of a rose.

I made three roses, all in the same way and layered them together to create a cluster on my gift box. For the foliage, I used the Create-A-Wreath set again, which was cut out of silver glitter cardstock. I added enamel dots in teal and blue on the branches, just like I did in my card above. The green leaves are from the Peony Blossom set, and were stamped on white cardstock using inks from the Tropical Forest collection, and then die cut using the coordinating die.

The sentiment is from the Altenew Sketchy Floral set. I added few enamel dots and clear droplets to embellish my gift box.


Now for the most exciting part  - GIVEAWAYS! This time Altenew has two big giveaways.

Altenew Giveaway 1
Altenew is giving away a $30 gift certificate to six lucky winners! Please leave a comment on the Altenew Card Blog and/or Altenew Scrapbook Blog by Friday, March 2nd for a chance to win. Six winners will be announced on the Altenew blogs on 3/4/2018.
Altenew Giveaway 2
Place an order from the Build-A-Flower Collection from 2/26/2018 until 3/2/2018, and you will automatically be entered into a raffle for a chance to win a big prize! One lucky winner will be chosen to win a prize pack valued at over $120 including one Original MISTI stamping tool, Artist Markers Set C, and Soft Pastel 6 Mini Cube Set. No minimum purchase needed! A winner will be announced on March 4th on the Altenew Blogs.


Additional Giveaway:
I will also be giving away a $20 gift certificate to the Altenew store. For your chance to win, simply leave a comment below. I will announce the winner on my blog on March 2nd, 2018.

Blog Hop Order:
The next stop on the hop is Donna Mikasa's blog.

Sunday, August 27, 2017

Hello Beautiful Card | Guest Post for Sindhu

Hello friends!
Today, I have this card to share with you which is totally hand stamped and watercoloured. This card is also a part of my dear friend, Sindhu's fifth blog anniversary celebrations. Do check it out HERE.

To create this card, I first stamped the flowers and leaves from the Altenew Golden Garden set on Canson Watercolor paper using Versamark Embossing ink. I heat-embossed all the images in gold and then fussy-cut them out. I colored the images using Zig Clean Color pens and then popped some of the flowers on foam dots for dimension. I also added a die-cut frame to balance the floral design. I then stamped, fussy-cut and coloured the butterfly from the Altenew Painted Butterflies set.


The background stripes were hand painted by masking with Washi Tape and diluting some Vintage Photo Distress ink with water and then creating broad paint strokes to give the watercoloured look. Finally added the sentiment which is from the Altenew Sweet Friend stamp set to the card front and few enamel dots using Nuvo Crystal Drops.


My card was inspired by the colours of this month's Inspiration Challenge over at the Altenew blog.


I hope you like my card. I would love to hear what you think about it :)

Thank you so much for dropping by!

Friday, July 28, 2017

Sending Love & Hugs | Card

Hello friends,
I am back after a short break. I am here to share a card I made based on the Altenew Inspiration Challenge this month.


I had a lot of fun creating this. I first started by stamping the flowers and leaves from the Altenew Adore You stamp set using Versamark Embossing ink on some Canson Montval watercolour paper. I heat-embossed all the images using Ranger Super White Embossing powder. Next, I coloured each of the images using my Zig Clean Color Real Brush Markers. After I was happy with how they looked, I fussy-cut them out and arranged it on my card base. The sentiment is also from the Adore You set which I stamped and heat-embossed on a strip of grey cardstock. I also stamped stripes on the left-hand side of my card for added interest. For the finishing touches, I used some Nuvo Crystal Drops and black paint spatters.

The colours which I was inspired from for the Altenew challenge.


That's it from my side today. I will be  back to share another card I made recently. Thanks for stopping by!

Wednesday, March 29, 2017

Thanks for all that you have done!

Hello friends,
Today I have a card to share which I have made especially to play along with this time's Altenew Challenge. The colors this time are absolutely bright and gorgeous and I really wanted to work with them. Here's a look at what I created using them :


This one has lots of techniques involved. To start with, I used a piece of white cardstock measuring 4.5 inches X 5.25 inches and then ink blended it using my newest Distress Oxide Fossilized Amber ink & Squeezed Lemonade Distress ink. Love the beautiful ink blending we get with these Oxide inks! I embossed this piece using the WRMK Next Level - Geometric Embossing folders. Then for my focal I die-cut the Altenew Thanks die from some watercolour cardstock on which I had previously done some ink blending and water spritz and also die-cut the word once more from a black foam sheet. I then stamped, and fussy-cut the images from the Altenew Remember This stamp set. This set has some gorgeous florals and foliage. I colored the flowers using my Zig Clean Color Real Brush Pens. I then added strips of black striped Washi Tape to further enhance the card. I added a white heat-embossed sentiment from the Wplus9 Ranunculus set and I used my Nuvo Crystal Drops for the finishing touches.

I'm entering my card in the following challenges :
Simon Says Stamp - Anything Goes 


I hope you like my card. As always your comments and suggestions are welcome. Have a good day everyone!


Monday, December 5, 2016

Mudra Christmas Cards | Sneak Peek

Hi, bloggy friends!
Today I have some Christmas cards to share on the Mudra blog using their newest stamp release. Here's a sneak peek for you :

Please head over to the Mudra Craft Stamps blog to check out the full cards. I hope you like what I have created :)


Have a nice day everyone!

Tuesday, October 4, 2016

Happy Wishes!

Hi, friends!
Sharing another card I made recently for my post at Mudra. This one is quite different from my usual style and it has very bright & bold colours. Here's a look :


To create this card :
I first die-cut a card panel using an A2 sized die from one of my favorites, Gina Marie Designs. I have die-cut this panel using Canson Watercolour paper. I then distressed the entire panel using three different shades of Distress inks in shades of yellow.Added some white splatters using Picket Fence Distress Stain Spray, pink splatters using Picked Raspberry Distress ink and some golden splatters using Inka Gold.  I then added some texture using a stencil by MFT and Texture paste and sprinkled some Ranger Dry Glitter while the paste was wet to add some really amazing shine to it.

I die-cut a frame using black cardstock and clear embossed it thrice to give it a glossy effect using  Ranger Super Fine Clear embossing powder and Versamark ink.
I stamped the butterfly using Versamark embossing ink and embossed it using Ranger Gold Glitter Embossing powder from Ranger and heat set it.

I colored the butterfly using Picked Raspberry Distress ink. I then stamped the "Birthday" sentiment from the Butterflies set and added the "Wishes" part from another stamp from the previous release - Sentiment EssentialsI then colored the sentiment banner using Picked Raspberry Distress ink and foam mounted it. Finally added two black enamel dots on the sides of the sentiment banner to finish off my card.

I'm entering my card in the Simon Says Stamp- Anything Goes, Cards in Envy - Frame, Dream Valley - Embossing, Incy Wincy- All that Glitters (Have used glitter embossing powder on the butterfly & sentiment as well as white glitter on the stenciled background), and Love to Create- Anything Goes/ Mixed Media.

I hope you like this card of mine. Do leave me your comments/suggestions regarding it. I love to hear from you :)

Have a nice day everyone!

Friday, September 30, 2016

Congratulations | Card

Hello, friends!
I'm blogging again after a short break. I have a lot of cards to share with you all in the upcoming days. In the mean time, here's a look at a card I created for my DT post at the Mudra blog.


Close-up of the Gerberas :


Here's how I created it :
To begin, I took a gray woodgrain textured cardstock from American Crafts and cut it at an angle, then I dry-embossed a white piece of cardstock using a 3D embossing folder by We R Memory Keepers & glued both the panels on a white card front. I stamped the Gerbera Blooms using Versafine Onyx Black ink and two shades of yellow inks from Altenew & fussy-cut it and popped it on foam dots. Did the same for the leaves. The inks I used for stamping the leaves are from the Altenew - Green Fields set. I also stamped & watercolored some leaves & buds from the Hummingbirds set and fussy-cut it and added it as a foliage against the Gerbera. Added a sentiment from the Sentiment Essentials and some enamel dots to finish off my card.


So, did you like my card? Let me know in the comments below if you did :)

I'm entering this in the STAMPlorations Sketch Challenge, Mod Squad Challenge Blog- Falling Leaves, Simon Says Stamp - Anything Goes, Word Art Wednesday- Anything Goes and Get Creative Challenges- Embossing


Thank you so much for stopping by! Have a nice day everyone :)

Tuesday, September 13, 2016

Gift Bag & Notecards | Photo Tutorial

Hi, crafty friends!
I'm posting after a short hiatus on my blog :D
Today, I have a very quick and easy tutorial to share for making a beautiful card pouch. I really had a lot of fun creating this. My son has a male class teacher & coming up with a gift for him for Teachers' Day was quite a challenge as I usually tend to create quite feminine project, so I was pretty happy to work with the newest collections from Papericious which has some really good masculine tones. 
Warning - It's a picture heavy post.

Here's a look at the card pouch :


Here's how it looks when opened up :

I have embellished the insides using pattern papers from the Mi Estilo collection. The bow-tie & sentiment have been fussy-cut from the Gentleman pack. (The papers used here are all from Papericious)

As you can see, it has two pockets and can hold 4 X 4 inch notecards with coordinating envelopes and also there is enough space to hold a candy bar of your choice.

The note-card & coordinating envelope :


The trio together!


The back side of the pouch :


- - - - - - - - - - - - - - - - - - - - - - - - - - - - - - - - - - - - - - - - - - - - - - - - -
Here's the tutorial on how to create this :

TUTORIAL

Step 1 - Take a 12 X 5" piece of cardstock and score at 5 1/2 and 6 1/2 inches.

Step 2 - To create the inside pockets, take TWO pieces of 2 3/4 inches X 5 3/4 inches piece of cardstock.

Step 3 - Score at 1/4 inch TWICE on three sides of this cardstock and fold it to form the pocket. Cut out the two squares on the sides to help create a crisp pocket-fold.

Step 4 - To create handles of the card pouch, you can either use any punch of your choice or a die, I have used Spellbinders Label 4 to create my handles.

After die-cutting the handle looks like this :

Step 5 - To further embellish the handles, create a frame using the same die set. I have distressed it using Hickory Smoke Distress ink. ( I have used the Papericious Craft Sheet & Ink Blending Tool )

Step 6 - To embellish the front & back of the pouch, I have used different pattern papers from Mi Estilo and the Gentleman pack.

The Note card and the co-ordinating envelope were also made using these papers.

For the pouch, I die-cut a scalloped border panel using papers from the Mi Estilo collection and layered it with another paper from the same collection. I then made a handmade flower again die-cut using papers from the Mi Estilo pack. Added few leaves, filler flowers and the sentiment, and my bag was ready :)

For the note-card, I have used die-cuts from the Infinity Collection. I have used three different pattern papers from the Mi Estilo collection.

For the envelope, I have again used a die-cut from the Infinity pack.


Hope you liked the tutorial and give it a try. I would love to hear your views on it :)

Linking this to Eclectic Ellapu- Gifts, Challenge up your life- Lace (Have used paper lace on both the gift bag & envelope), Crafty Catz- Anything but square (entering my bag only), Jo's Scrap Shack - 3 colors (Red, Gray and Green), 2 embellishments (2 kinds of filler flowers and enamel dots), 1 technique- Die-cutting, Just add ink - Just add P (Pattern papers).

Have a nice day everyone!