Thursday, March 31, 2016

Layered Birthday Card with Tutorial

Hello friends!
I have a layered Mixed Media card to share today which is based on this month’s PPS color palette challenge. We have such beautiful, soft pastels for inspiration and I really enjoyed working with these colours! I have a step by step tutorial on how I created my card. Hope you enjoy seeing my creative process!


Monday, March 7, 2016

Hello Friend

Hello friends,
Today I have a card to share based on the current challenge at Altenew and this is also my Guest Design Post for the Tic Tac Toe challenge. Here's a look at my card :

Here's a side view which shows the layers of my card pretty well.

To create my card I first die cut a card panel using the largest of my Stitched Rectangles die from a Kraft paper, then I die cut some square frames using various sizes of the Spellbinders Square Nesting dies and I slightly colored them using Red Cosmos ink cubes set from Altenew. 
I glued these squares on my card base creating a geometric grid like pattern. Then I stamped my flowers, leaves and foliage from two different Altenew stamps- Peony Bouquet & Vintage Flowers and gold heat embossed them. The flowers and leaves are all colored by using various Altenew Crisp inks - Red Cosmos & Green Fields ink cubes set using a Inkessentials foam applicator to give them two- tone shading. The sentiment is from a Hero Arts set - All Occasion Messages set and I stamped it on a piece of card stock using Versafine Onyx Black ink and cut it in a banner shape and colored it lightly using Altenew- Forest Glades ink and  a Inkessentails foam applicator. It was then foam mounted on the square frame.

The colors and the design of my card is inspired from the current challenge at Altenew. I tried to incorporate the maze garden in my card by creating a geometric background and have shaded my flowers using two shades of pink to incorporate the colors too.

The stamped and embossed flowers and leaves are also foam mounted on my card panel and they give quite a nice dimension in real life. I matted my card panel on a light pink cardstock and attached it to a Kraft card base. I have used a few Pretty Pink Posh sequins to finish off my card.

Also entering my card in the NBUS challenge by Darnell- I have used my Altenew Peony Bouquet stamp & Gina Marie die for the first time, Stamping Sensations- Flower Power & SSS- Touchy Feel ( I have used embossing and layers for the texture).
PhotoInspiration_March


I hope you like my card. I would love to hear your views on it. Thanks for visiting!


Sunday, March 6, 2016

Guest Designing at the Tic Tac Toe Challenge!

Hello friends,
I am so excited to let you know that I have been invited as a Guest Designer at Tic Tac Toe Challenges.

Here's a sneak-peek of my card! Please do hop over to the Tic Tac Toe challenge blog to check out the full reveal.


This is the challenge grid for this time & I have created my card based on the middle row which is - Friendship, Gold & layers.
Hope I have inspired you to play along this time's Tic Tac Toe challenge. There are some yummy prizes up for grabs as well. :)

Tuesday, March 1, 2016

Love- Mixed Media Wall Art and Tutorial

Hello friends!
I have a Mixed Media Wall art and fridge magnet to share today along with a step by step tutorial. Here's a look at what I have created :

This wall hanging would make a perfect accent to your craft room or even as a home decor and I have created this based on the current theme this month at Pretty Paper Studio which is “LOVE”. I have a step by step tutorial on how I have created this, so sit back and relax and hope you enjoy seeing the creative process .

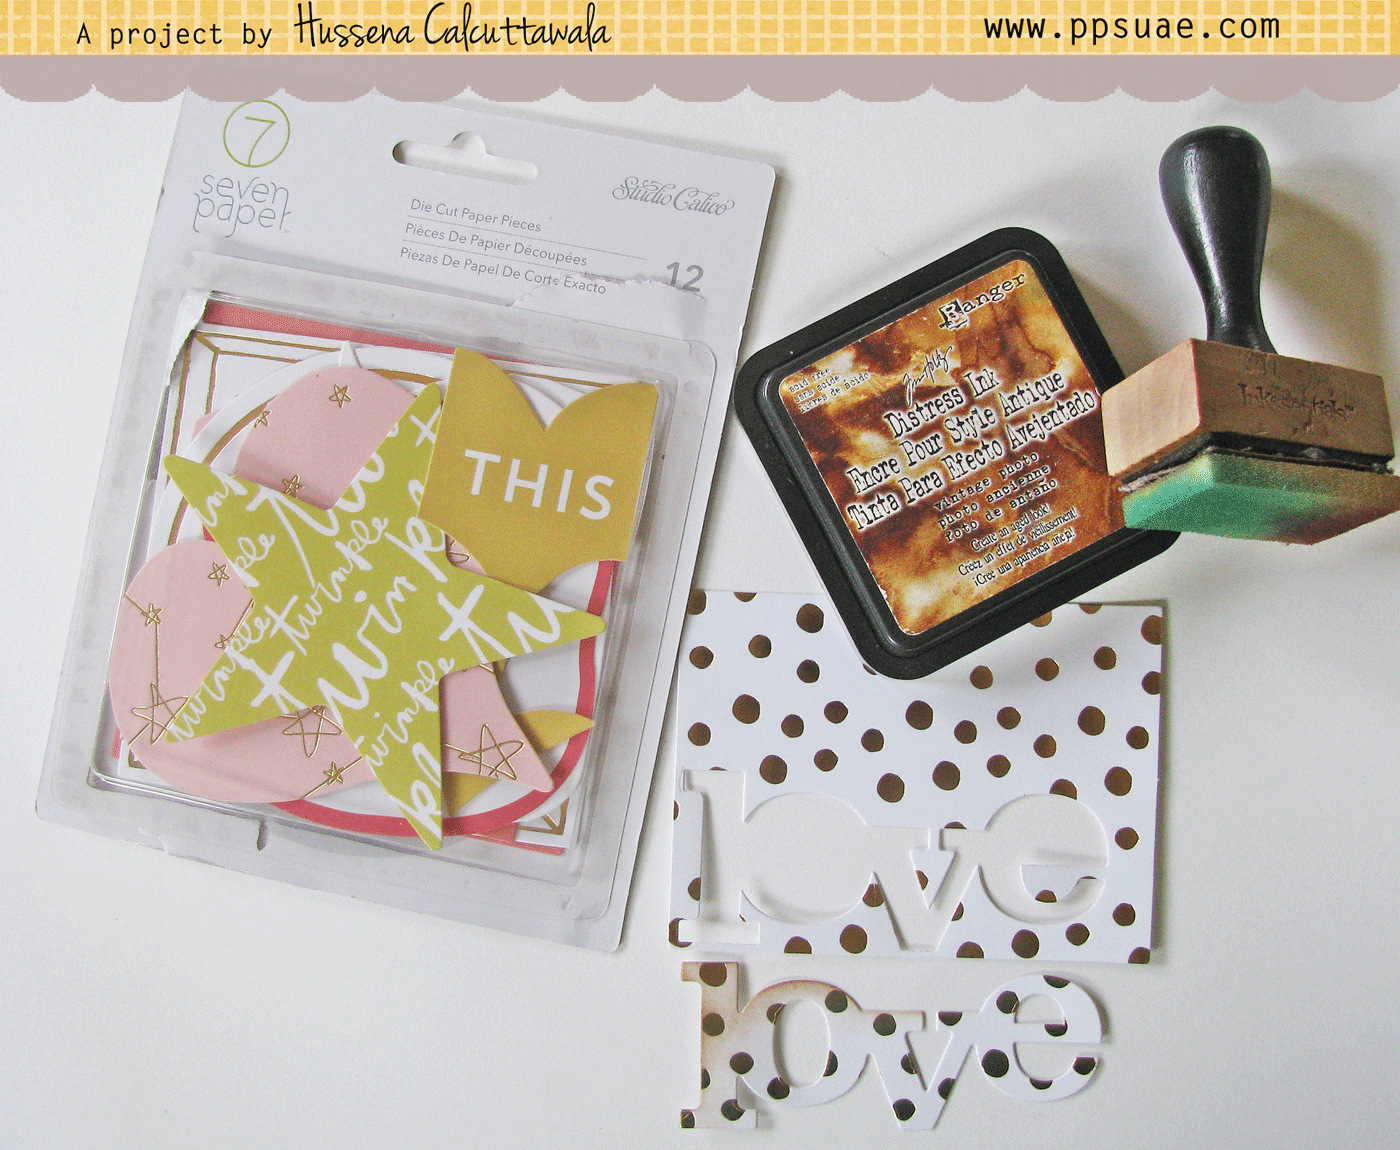
 I first started by roughly drawing a freehand heart shape on a recycled cardboard packaging and fussy cutting it and for the magnet, I have die – cut a heart shape using my die directly on the cardboard. I have used papers from 6″ X 6″ Crate Paper pad : Craft Market collection.

After I had cut the heart shape, I cut out the papers from my paper pad and glued them on the cardboard base. (The brown woodgrain & dotted paper). Then it was time to add some texture to the base so I used Tim Holt Lace stencil and embossing paste along with some Heidi Swapp mists to create my background.

This is how the base looks once the embossing was done . On my dotted heart, I mixed some blue mist with my embossing paste before applying it through the stencil.

This is how the base looks once the embossing was done . On my dotted heart, I mixed some blue mist with my embossing paste before applying it through the stencil.

To create more background texture, I water colored two images from Prima Marketing Everyday Vintage Paintables Cards- Bohemian 4 ”X 6” using my Distress inks and I fussy cut the images and layered them on my heart base.

After I watercolored and fussy cut my image it was time to start embellishing and putting down all my elements on my heart base . I decided to use the Prima Marketing Resin icons in a Box- Chalk Black Lock and Key Sets for this, so I painted it with gesso and colored it with my mist to give it a hint of blue.

After playing around with my embellishments, I finally arranged them on my final piece. I have used handmade flowers and some die cut and colored leaves using Joy! Crafts Die- Leaf #2, added a American Crafts/Amy Tangerine Stamped Myflair Flairs – Embossed Gold along with the Prima Marketing Resin icons in a Box- Chalk Black Lock and Key Set.

 I also made a co-ordinating fridge magnet  to go with my wall hanging :

For the fridge magnet, I have used paper from Crate paper : Craft Market collection 6 ” X 6″ paper pad. I have die-cut a scalloped circle from this paper pad and have foam mounted it on my heart base and used some mulberry flowers and a Prima Resin Icon Key to embellish it, finally used some sequins to finish my project.

w&w_bb2ndb_challengefinal
I'm linking my wall hanging and fridge magnet to the Winnie and Walter Belated Second Birthday challenge-
Anything but a card, Gold + Watercolor challenge with Heather (I have watercolored the Prima Paintable image) and Floral challenge with Lydia

Also entering it in the Artful Crafting- Love challenge.

I hope you liked my post and tutorial. Do leave me your comments/suggestions. I always look forward to them. :)