Showing posts with label Boxes. Show all posts

Monday, March 25, 2019

Spellbinders March 25th Blog Hop


Hello, crafty friends!
Welcome to the Spellbinders March 25th Blog Hop! If you're just popping in, you can start at the beginning with Spellbinders Blog. If you've been hopping along, you should have arrived from the blog of Tina Smith. There is lots of inspiration and prizes to be won, so be sure to read until the end of the post for more details!

Today, we are showcasing the following NEW collections from Spellbinders and I am so excited to share my projects using both these collections.
Becca Feeken Gilded Age | Sharyn Sowell Happy | New Glimmer Hot Foil Colors

My first project is a Cottage Gift Box made using the Gilded Trimmings Glimmer Hot Foil Plate, Glimmer Hot Foil Roll - Gold, and the Charming Cottage Box Etched Dies.

I wanted to use the Gilded Trimmings Glimmer Hot Foil Plate in a new and unique way, and what better than using it as a gorgeous, elegant border to adorn a gift box! To create this box, I first die cut the Cottage Box from heavy-weight smooth Cream Cardstock using the Charming Cottage Box Etched Dies. Once it was die cut, I used the Spellbinders Hot Foil Glimmer System with the Gilded Trimmings Glimmer Hot Foil Plate to foil the border on all four sides of the box. I used the Glimmer Hot Foil Roll in Gold to foil the borders.

I wanted to keep the embellishing very simple so as to not take away the focus from the foiled borders. I used the Cinch and Go Poinsettia Etched Dies to create a light pink poinsettia and some small filler flowers from the It's Your Day Etched Dies along with a couple of rose buds and pollens from my stash to embellish the box. I also added some leaves die cut from green Foamiran to complete the floral cluster.  

Here is a look at the foiled borders! I die cut the tiny border using the Gilded Trimmings Glimmer Hot Foil Plate with the Glimmer Hot Foil Roll - Blush. I added it as an accent strip all around the box. I loved how this one turned out! What do you think?


My next box is an idea which came to my mind whole working on the first project. I had this beautiful strip of foil left over from foiling the Gilded Trimmings Glimmer Hot Foil Plate, and it was too pretty to be thrown out, so I decided to use the negative as well to create another box.

This is actually a gorgeous gold colour, however, I was not able to capture the colour of the foil nicely. The next picture shows you how the actual colour looks like, and I think, you will agree with me, that it is really very pretty!

I adhered this strip of foil using Glossy Accents. I had to be very careful while adhering it, to make sure there were no air bubbles. I used the entire negative piece to cover the box. I also die cut borders using the Shadow Box Ribbon Threader Etched Dies from white cardstock to add to the top and bottom of the foiled piece, and give it a more finished look. 

I kept the floral arrangement almost the same as the previous box, and only changed the colours. Also, please excuse those pesky glue strings which are showing up in the pictures. I had no idea about them until I saw down to edit my pictures. :/


My last project for today is a Card I made using the new Glimmer Plates and Etched Dies from Sharyn Sowell's Happy Collection

I had a lot of fun creating this card! I have always wanted to create a card with this particular layout and when I saw the Oh Happy Day Glimmer Hot Foil Plate, I knew I was going to use it this way! I first started by foiling the plate using Glimmer Hot Foil Roll - Blush. Once that was done, I started working on the other elements of my card. 

I die cut little flowers from light pink and dark pink cardstock using dies from the It's Your Day Etched Dies and lightly embossed them to give them a dainty look. I adhered them on my card panel and added white pearls to the centres. The sentiment banner was die cut from Gold Mirror Cardstock and White Cardstock and then adhered one one on top of the other to give the inlay effect.

I really liked the way this one tuned out because this was how I had envisioned it when I received these products. I would love to know what you think of my card!

Giveaway:
To celebrate this release, Spellbinders is giving away a $50 gift certificate to 3 lucky blog readers – selected from the comments across all of the blogs in the hop. Giveaway closes on Sunday, April 7th 11:59 pm EDT. Winners will be announced in their blog hop post the following Monday. Winner is responsible for shipping cost, duties and taxes.


Blog Hop List:
Next stop on this Blog Hop is the talented, Mona Tóth's blog.
In case, you lose your place along the way, here is the complete list of participants so that you can find your way back:
                        Hussena Calcuttawala (You are HERE)
Zinia Redo

 Thanks for stopping by!
 I hoped you liked my projects. If you did, please do leave me a comment letting me know which one is your favourite. :)

Enjoy the rest of the hop and have a great day ahead!

Wednesday, January 28, 2015

DIY Round Gift Boxes

Hello everyone,
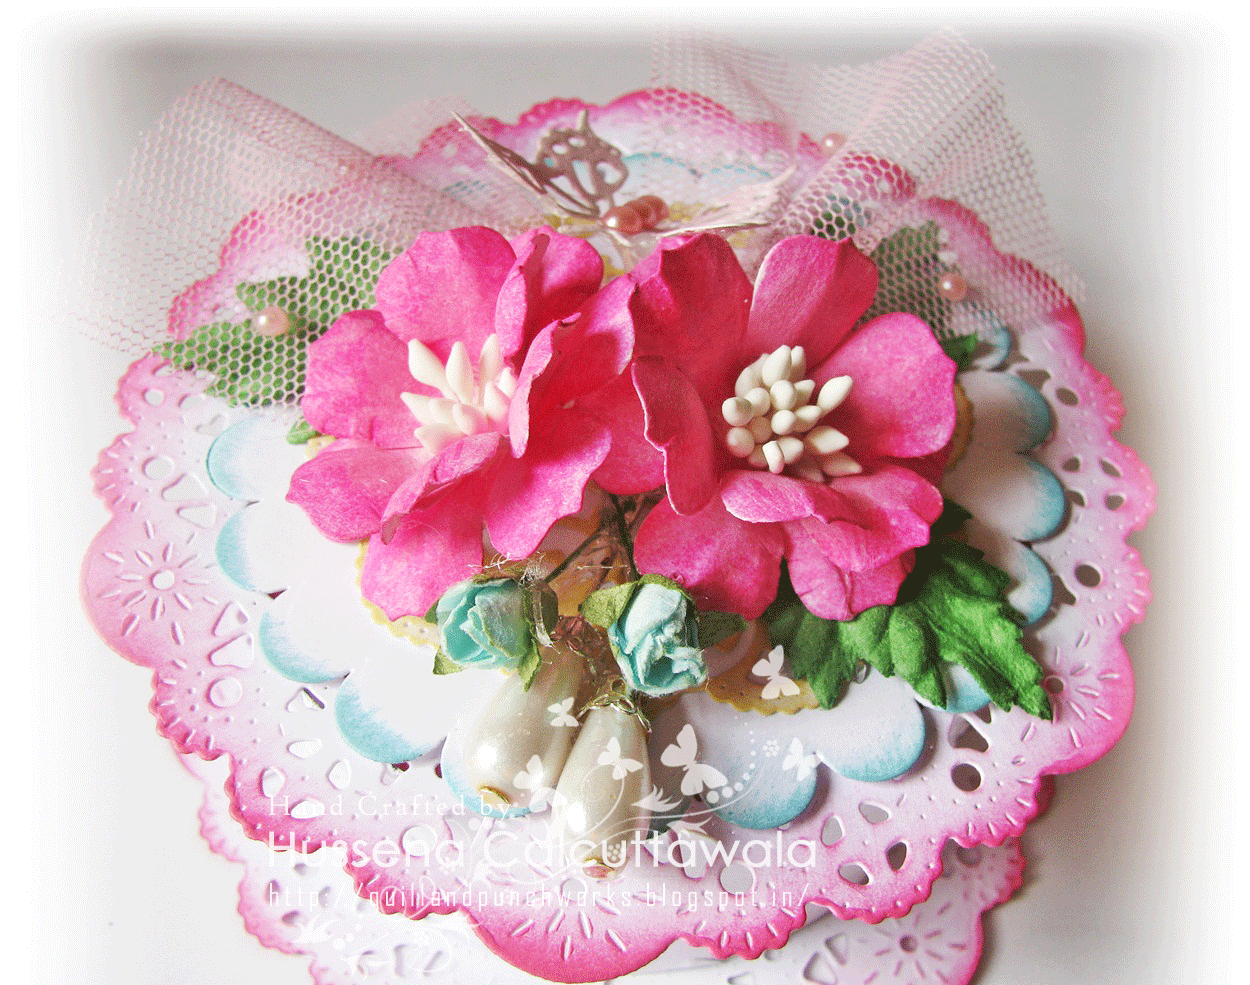
I'm here to share some gift boxes this time. These are totally made from scratch using dies as a base. I have a small pictorial on how I went about creating them. These are pretty easy to make once you have practiced with atleast one of them. For the tutorial on how to make them, I googled it and found a quite easy video on YouTube though the lady in the video used SVG cut files to make hers. The process is same. Here's a look at my boxes :

My second box which I made :

 Closer view of the box :

The first box I made was in White :
How it looks when opened

A close up of the details :

A small pictorial of the dies used to make the box :
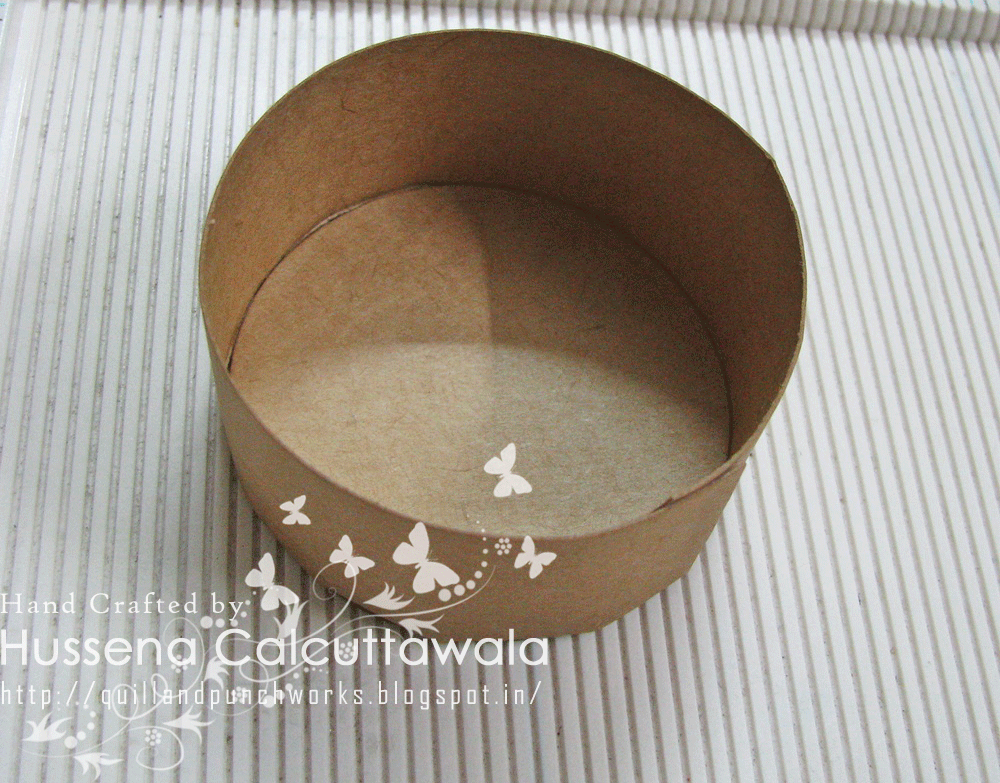
The strip is handcut and it measures approximately 10 inch by 3 inch. I have scored at the half inch mark and cut small slits to make it easy to adhere it on the round base.


I ended up making not one, but two of these boxes as the first one was my practice go and the second one, my finished product. Though, as it is usual, I ended up loving the first one more than the other  which is the White and pink box.

To make the base of these boxes, I die cut 4 circles, mine are 3 inches in size and you will need two doily dies for the upper and lower halves. (This is totally optional). You will need an approximately 10 inch by 2 inch paper strip for the base and for the lid you can use a 10 inch by 3 inch paper strip as the lid of the box has to be a bit larger than your base for your box to fit/close properly.

The flowers on my boxes are handmade using two of my favorite dies from Cheery Lynn- Medium Tea Rose and Gardenia Strip and the two doilies that I have used are also from Cheery Lynn - Sophie's Heart Mini die being my all time favorite!
While one of my box is made using a kraft colored cardstock, the other one is totally pastel with soft colors and a splash of hot pink!! 
Do let me know which one is your favorite among the two. ;)

Supplies used :
Kraft cardstock- Darice, White cardstock- Campap.
Pattern papers- DCWV Fresh Florals Stack.
Dies : Cheery Lynn- Medium Tea Rose, Cheery Lynn Gardenia Strip, Cheery Lynn French Pastry doily die, Cheery Lynn Sophie's Heart Mini doily die, Cheery Lynn Tropical Flourish die, Cheery Lynn Flourish Leaf strip die, Cheery Lynn Exotic Butterflies (Small), Cheery Lynn BAF Embellishments #3 die, Jags Circle dies, Papertrey Ink Filigree Border die.
Embossing folder- Provocraft Swiss Dots folder.
Inks- Distress inks- Picked Raspberry, Vintage Photo. Distress Stains- Mowed Lawn, Picked Raspberry, Spun Sugar, Distress Stain Spray- Picket fence, Lindys Stamp Gang Hottie Patottie Hot Pink spray.
Golden and White Pollens, Leaves, Hat pins, Rose buds, Tulle, Pearls, Golden strips.

Challenges entered :
Cheery Lynn- Anything goes ( Winner! )
Lulupu- 3D with Dies ( Made it to Top 3 )
SSS- Anything Goes
613 Create Avenue- Anything Goes with Twist ( I have used Patterned paper, die-cut, dry embossing, flower and ribbon (tulle).

Sunday, June 29, 2014

A gift box !!

Hi friends!
Today, I am sharing with you all a giftbox that I have made from scratch using cardstock and some beautiful pattern paper . The measurements of the box and the method on how I made it, I have referred to the youtube video of an international crafter that I found on Pinterest. HERE's a link to it if you are interested in making this.and keeping in mind the current Lulupu challenge which is to use 'Minimum 4 colours from the Lulup logo + create banners or pennants . This cute, little box can very easily hold a small sweet treat or an accessory like a bracelet or some pretty earnings. This could make a perfect party favour gift too! So, here's a look at what I have made :


To make this box, I have first cut and scored the cardstock, then measured and cut the pattern paper from the DCWV Fresh Floral Stack accordingly, and then covered all the four sides and the top of the box with it. Then, I created a small handle on the lid to make it easy to open and decorated the front of it using a die-cut panel which I have distressed on the edges using Crushed Olive Distress ink. I stamped the sentiment in the centre and also stamped, colored and fussy-cut the flowers and leaves using the Lawn Fawn Blissful Botanicals and Flutter By sets. Added the banners on the two sides of the box and a punched lace using the Martha Stewart Doily Lace which was then colored using Distress inks- Crushed Olive, Shabby Shutters and Tumbled glass.

Challenges entered :
Kraft Zone- Dies with Pattern paper.
A Creative Romance- Anything goes with Happy Birthday!

Hope you like my box. Do leave me your comments/suggestions. 
Have a nice day everyone! 

Tuesday, December 27, 2011

DOTTED BOX,FLOWERS AND TAGS.....

Hi Everyone,

As my title suggests I have a very much Dotty Box and Tags  to share..The box is  Recycled from an old Chocolate  tin box  and the tags are made from recycled Kraft paper Bag and the Flowers are made from Stamped Paper using the Dots for Sure Stamp from unity....If you are interested in a Tutorial for this Flower Click Here.....Now a Look at My box and tags: -
                                     

      Now a Side View :-
     The Original Box Which I have Upcycled    :-        
                                                                                       
              
     Now some matching   tags to go with the Box :-
      The three Tags together :-
   Indivual Pics of the tags :-    


This box  and the tags Could make a perfect gift  For any Occasion Be it New year ,B'day ,anniversary Etc...The box Could be Filled with some homemade chocolates  and Gifted Seperately....Or  it can be given with the Tags too....I have trimmed the Flourishes From Pie Lane to make them Fit in the tag.
Hope you guys like my Idea and Work.

Supplies Used :-(Box)
CS- White Fabriano
 Stamp-Unity Dots for Sure (Ujjwal's Store)
Inks-Memento -Dandelion,Colour Box -Cranberry and Ala Mode- Blue
Fern and Sprig Leaves-Punch Bunch
Maple Leaves -Jef (Jumbo)
 Flowers-Stamped   and Assembled
 Pin wheel Flower-Punch Bunch          
Scallop Die cut-Traced and cut(Kavitha's Store)
Fiskars-Lacy Days of Summer Border Punch
White Satin Ribbon-Stash
Bow- Made from PP from Hobby Ideas  
 Rose-Handmade
 Pie Lane Silver Glitter balls (Centre of Pinwheel Flower) -Bought from Khushboo
 Pie Lane Golden  Border Strip-(Ujjwal's Store)
Pie Lane Zigzag Silver Strips -(Ujjwal's Store)
Glitter Glue-Hobby Ideas.


Supplies Used :-(Tags)
Kraft CS-Recycled
Flowers-Stamped and assembled(Unity Dot's For Sure)      
Scallop strips-Hobby Ideas
Fern and Sprig Leaves-Punch Bunch
Hydra cluster-Punch Bunch
Pie lane Flourishes-(Bought from Khushboo)
Ribbons-Stash
Pearls-Stash.

 Challenges Entered :-
1.Crafty Cardmakers ( Used the Dots for Sure Stamp To Make the Flowers and the Background for the Tags)
2.Paper Creations Ink(Old Box and New Tags)
3.Victorine  Originals (Use punch)
4.Daring Cardmakers (Spots and Stripes)
5.For the Love of Crafting (Anything but a Card)
6.Crafty JC Challenge (Holiday Favors).

I would love to Hear from you guys so Do drop in a comment
Hope all of you have a Good day!!